Godiag GT100 read CAS4 ECU data with Autel MD808 Pro

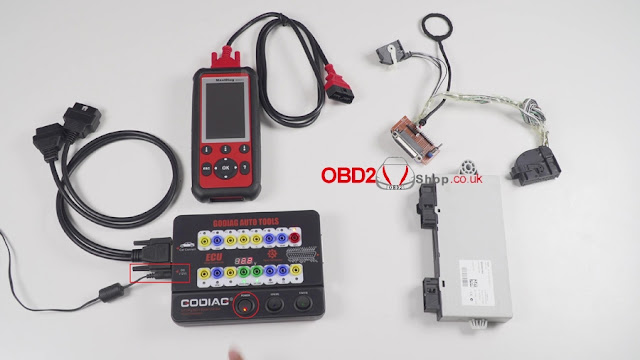
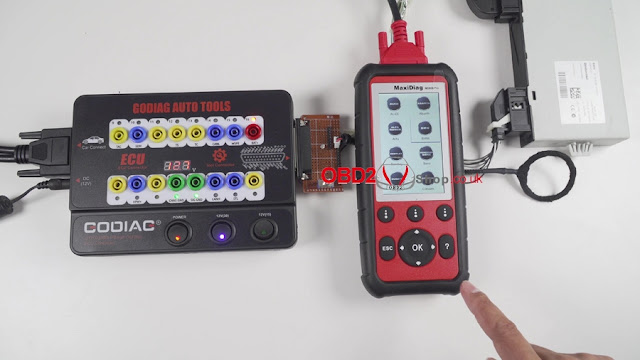
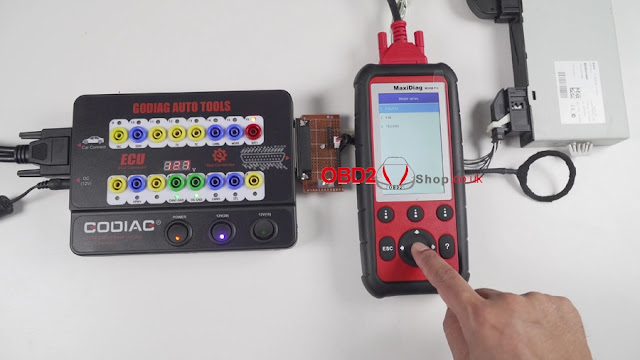
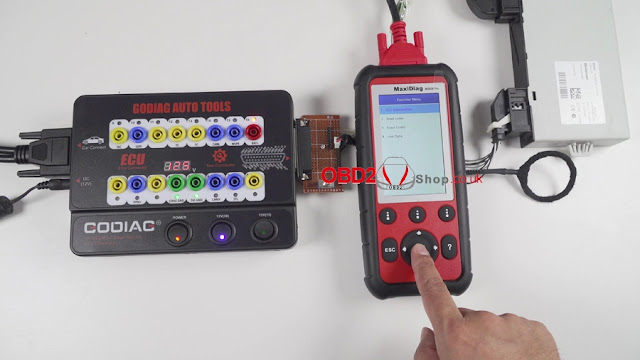
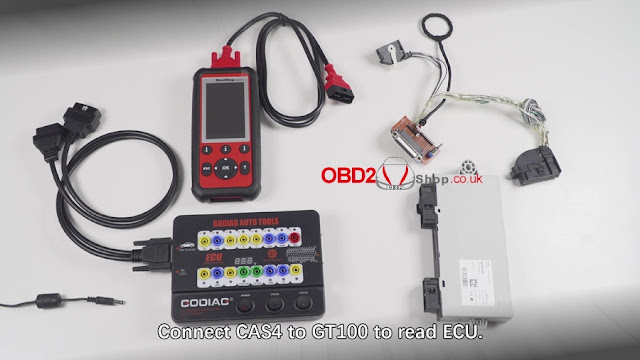
Hey, buddies, look at what I have: A Godiag GT100 OBD2 break out box, an Autel MaxiDiag MD808 Pro code reader, a CAS4 ECU box, a test platform made by obd2shop.co.uk engineer. Guess what I will do? I use them to read CAS4 ECU info. 

godiag-gt100-connect-cas4-to-read-ecu-data-01

Here we go: 

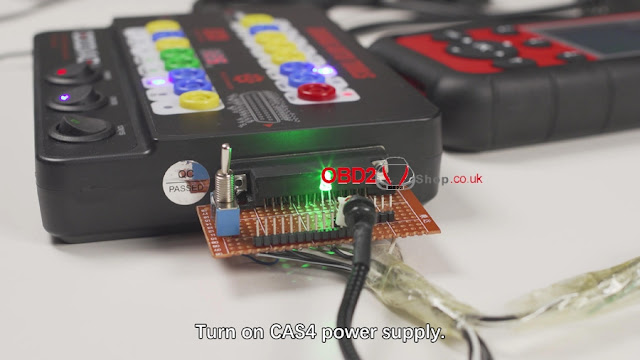
Give 12V power supply to Godiag GT100, then press "Power" button; 

Connect Godiag GT100 to Autel MaxiDiag MD808 Pro use the 16pin cable; 

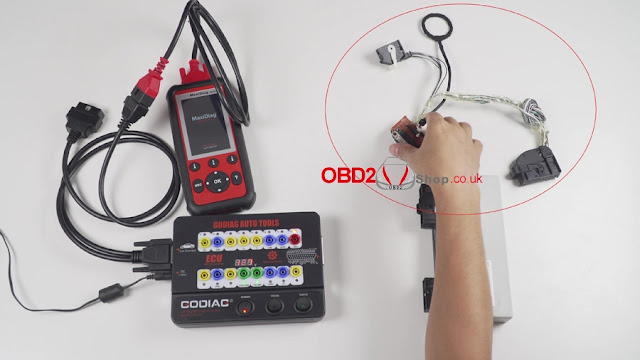
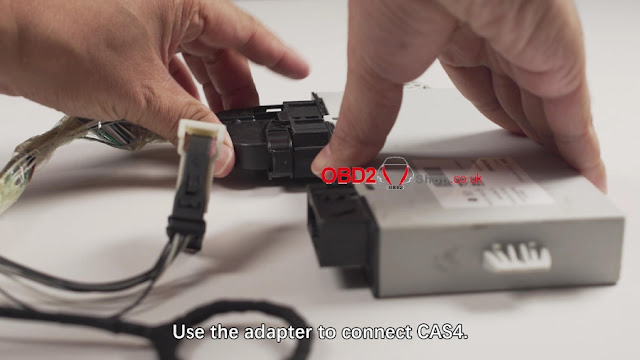
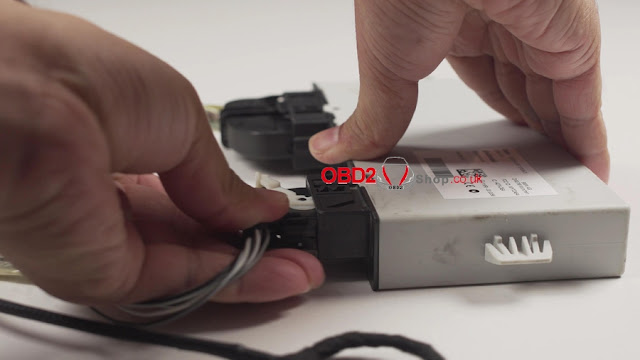
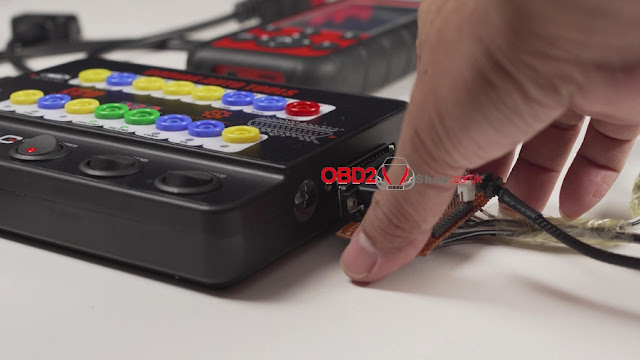
Connect the two adapters of test platform to CAS4 ECU box and another end to Godiag GT100; 

On Godiag GT100, press "12V (30)" button and the test platform indicator will flash. 

godiag-gt100-connect-cas4-to-read-ecu-data-02

godiag-gt100-connect-cas4-to-read-ecu-data-03

godiag-gt100-connect-cas4-to-read-ecu-data-04

godiag-gt100-connect-cas4-to-read-ecu-data-05

godiag-gt100-connect-cas4-to-read-ecu-data-06

godiag-gt100-connect-cas4-to-read-ecu-data-07

godiag-gt100-connect-cas4-to-read-ecu-data-08

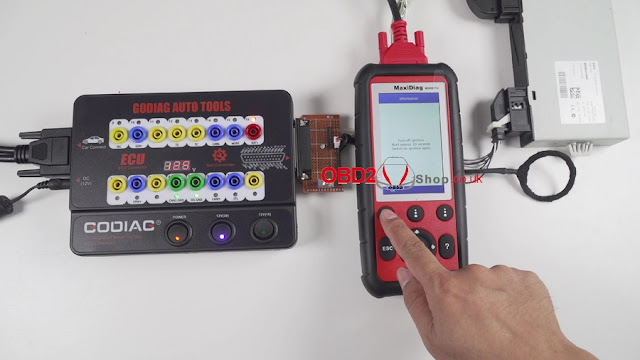
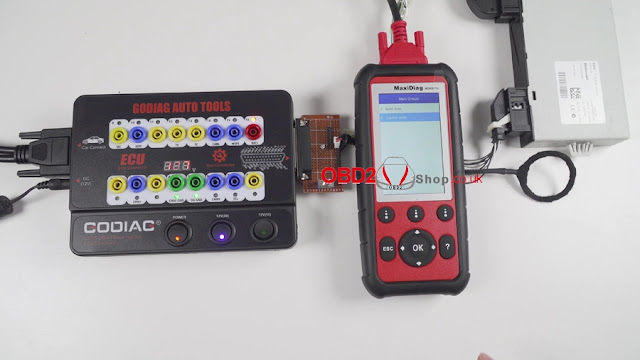
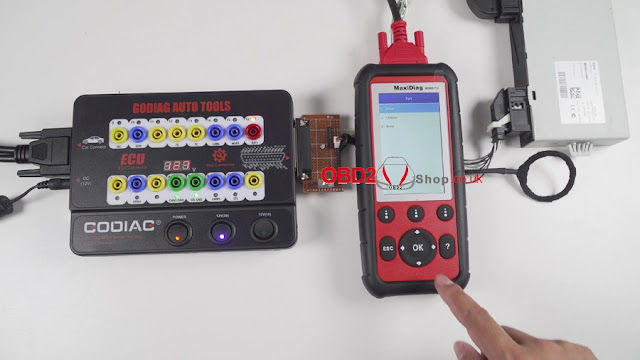
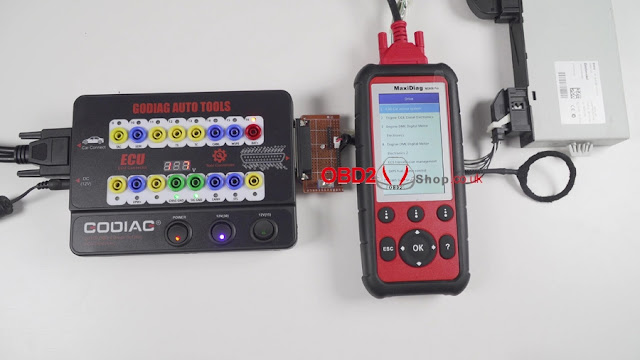
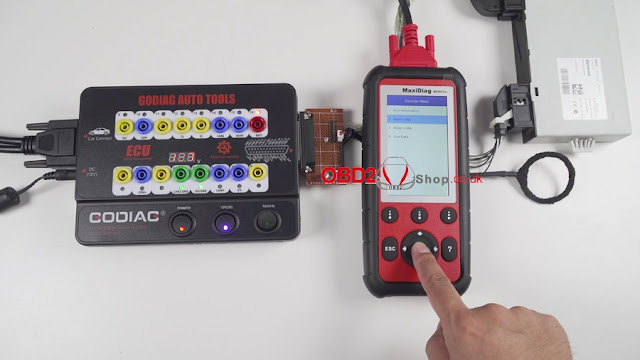
The method to read CAS4 ECU information: the Autel MaxiDiag MD808 Pro, select "scan" then press "Ok" -> European -> BMW -> OK (to turn off ignition, wait approx 10 seconds switch on ignition again) -> 4 series -> F32/F33 ->Control Units -> Drive -> CAS Car access system -> ECU information. 

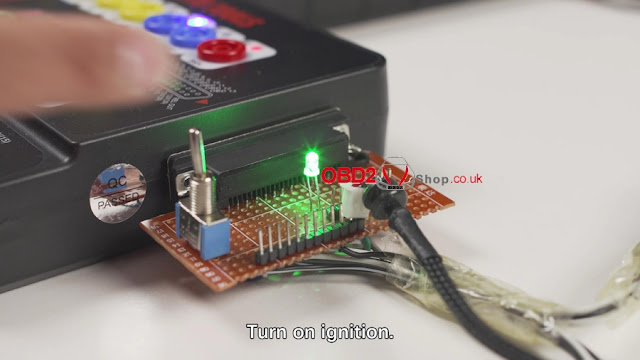
Turn on the switch of the test platform and then have ECU information on the MD808 Pro

godiag-gt100-connect-cas4-to-read-ecu-data-09

godiag-gt100-connect-cas4-to-read-ecu-data-10

godiag-gt100-connect-cas4-to-read-ecu-data-11

godiag-gt100-connect-cas4-to-read-ecu-data-12

godiag-gt100-connect-cas4-to-read-ecu-data-13

godiag-gt100-connect-cas4-to-read-ecu-data-14

godiag-gt100-connect-cas4-to-read-ecu-data-15

godiag-gt100-connect-cas4-to-read-ecu-data-16

godiag-gt100-connect-cas4-to-read-ecu-data-17

godiag-gt100-connect-cas4-to-read-ecu-data-18

godiag-gt100-connect-cas4-to-read-ecu-data-19

godiag-gt100-connect-cas4-to-read-ecu-data-20

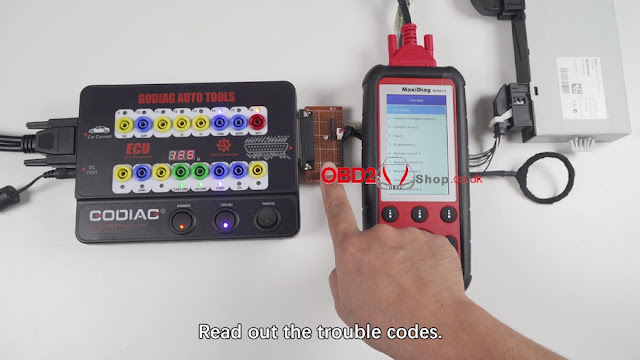
Next is to read codes, turn on the switch of the test platform and have the fault codes. 

godiag-gt100-connect-cas4-to-read-ecu-data-21

godiag-gt100-connect-cas4-to-read-ecu-data-22

Finally is to read live data. turn on the switch of the test platform and have the data. 

godiag-gt100-connect-cas4-to-read-ecu-data-23

godiag-gt100-connect-cas4-to-read-ecu-data-24

godiag-gt100-connect-cas4-to-read-ecu-data-25

As you can see, every time I turn on the switch of the test platform, I will have the data including ECU information, fault codes, live data etc. Godiag GT100 ECU connector and the red test platform are wonderful, it will play an very important role in the daily job of every technician. 

Comments

Popular posts from this blog

Autel DS808 V.S. MP808 V.S. MK808

Autel is one of the world's leading providers of automotive intelligent diagnostic, inspection and TPMS products and services. Today let's see the similarities and differences among Autel DS808 , MP808 and MK808 diagnostic tool , which are all within a similar price range. Specifications Item Autel Maxidas DS808 Autel MaxiPRO MP808 Autel MaxiCOM MK808 Image Recommended Use Indoor Indoor Indoor Operating System Android™ 4.4.4 Android™ 4.4.4, KitKat Android™ 4.4.4 Processor Cortex-A9 processor (1.5 GHz) Cortex-A9 quad-core processor (1.4 GHz) Cortex-A9 processor(1.5 GHz) Memory          32GB 32GB 32GB Display 7-inch LCD capacitive touchscreen 7-inch LCD capacitive touchscreen 7-inch LCD capacitive touchscreen Connectivity Mini USB 2.0 USB 2.0 Wi-Fi Micro SD card (supports up to 32GB)

Autel MaxiAP AP200 software download, register and update

Here is the quick reference guide about how to download, register, and update the Autel MaxiAP AP200 . Procedure: 1. Download & install APP Search for MaxiAP200 in Google Play or App Store to download and install the app to your device. Or scan the QR code to download the MaxiAP200 app. 2. Register & log in Open the AP200 app and tap Register near the top right of the screen. Follow the on-screen instructions to complete the registration. Log in with your registered email address and password. NOTE: If you have a previously created Autel ID, please use it to log in. 3. Bind VCI Tap Me > VCI Management . Scan the QR code on the AP200 Bluetooth dongle to put in the serial number. Check if the email information is correct. Tap Bind to bind VCI. 4. Purchase & install software Tap Mall or the plus sign below the Diagnose list to purchase and install vehicle-specific software. (For iOS devices, the purchased vehicle-specific

What's the difference between Autel MD806 Pro and MD806

Before listing the difference between AutelMD806 Pro and MD806 , let's take a look at their similarities. MD806 & MD806 Pro can do full obd2 functions: Full OBDII Functions Focusing on Emission Problems Designed with full OBD2 Functions, this car the scanner makes it easy to receive clear, concise information about the emission problem on a vehicle, without necessarily having to get a technician involved in the process. 1. Read & clear detected diagnostic trouble codes and turn off the Check Engine Light; 2. Read I/M readiness status to have a vehicle inspected for state emissions compliance; 3. View graphical live data of vehicle's computer module(s) for easy analyses; 4. View the vehicle's operating parameters at the moment a DTC is detected; 5. Show the last results of the O2 sensor test in the graphics display for troubleshooting; 6. Read the results of on-board diagnostic monitoring tests for specific components/systems; 7. Comp